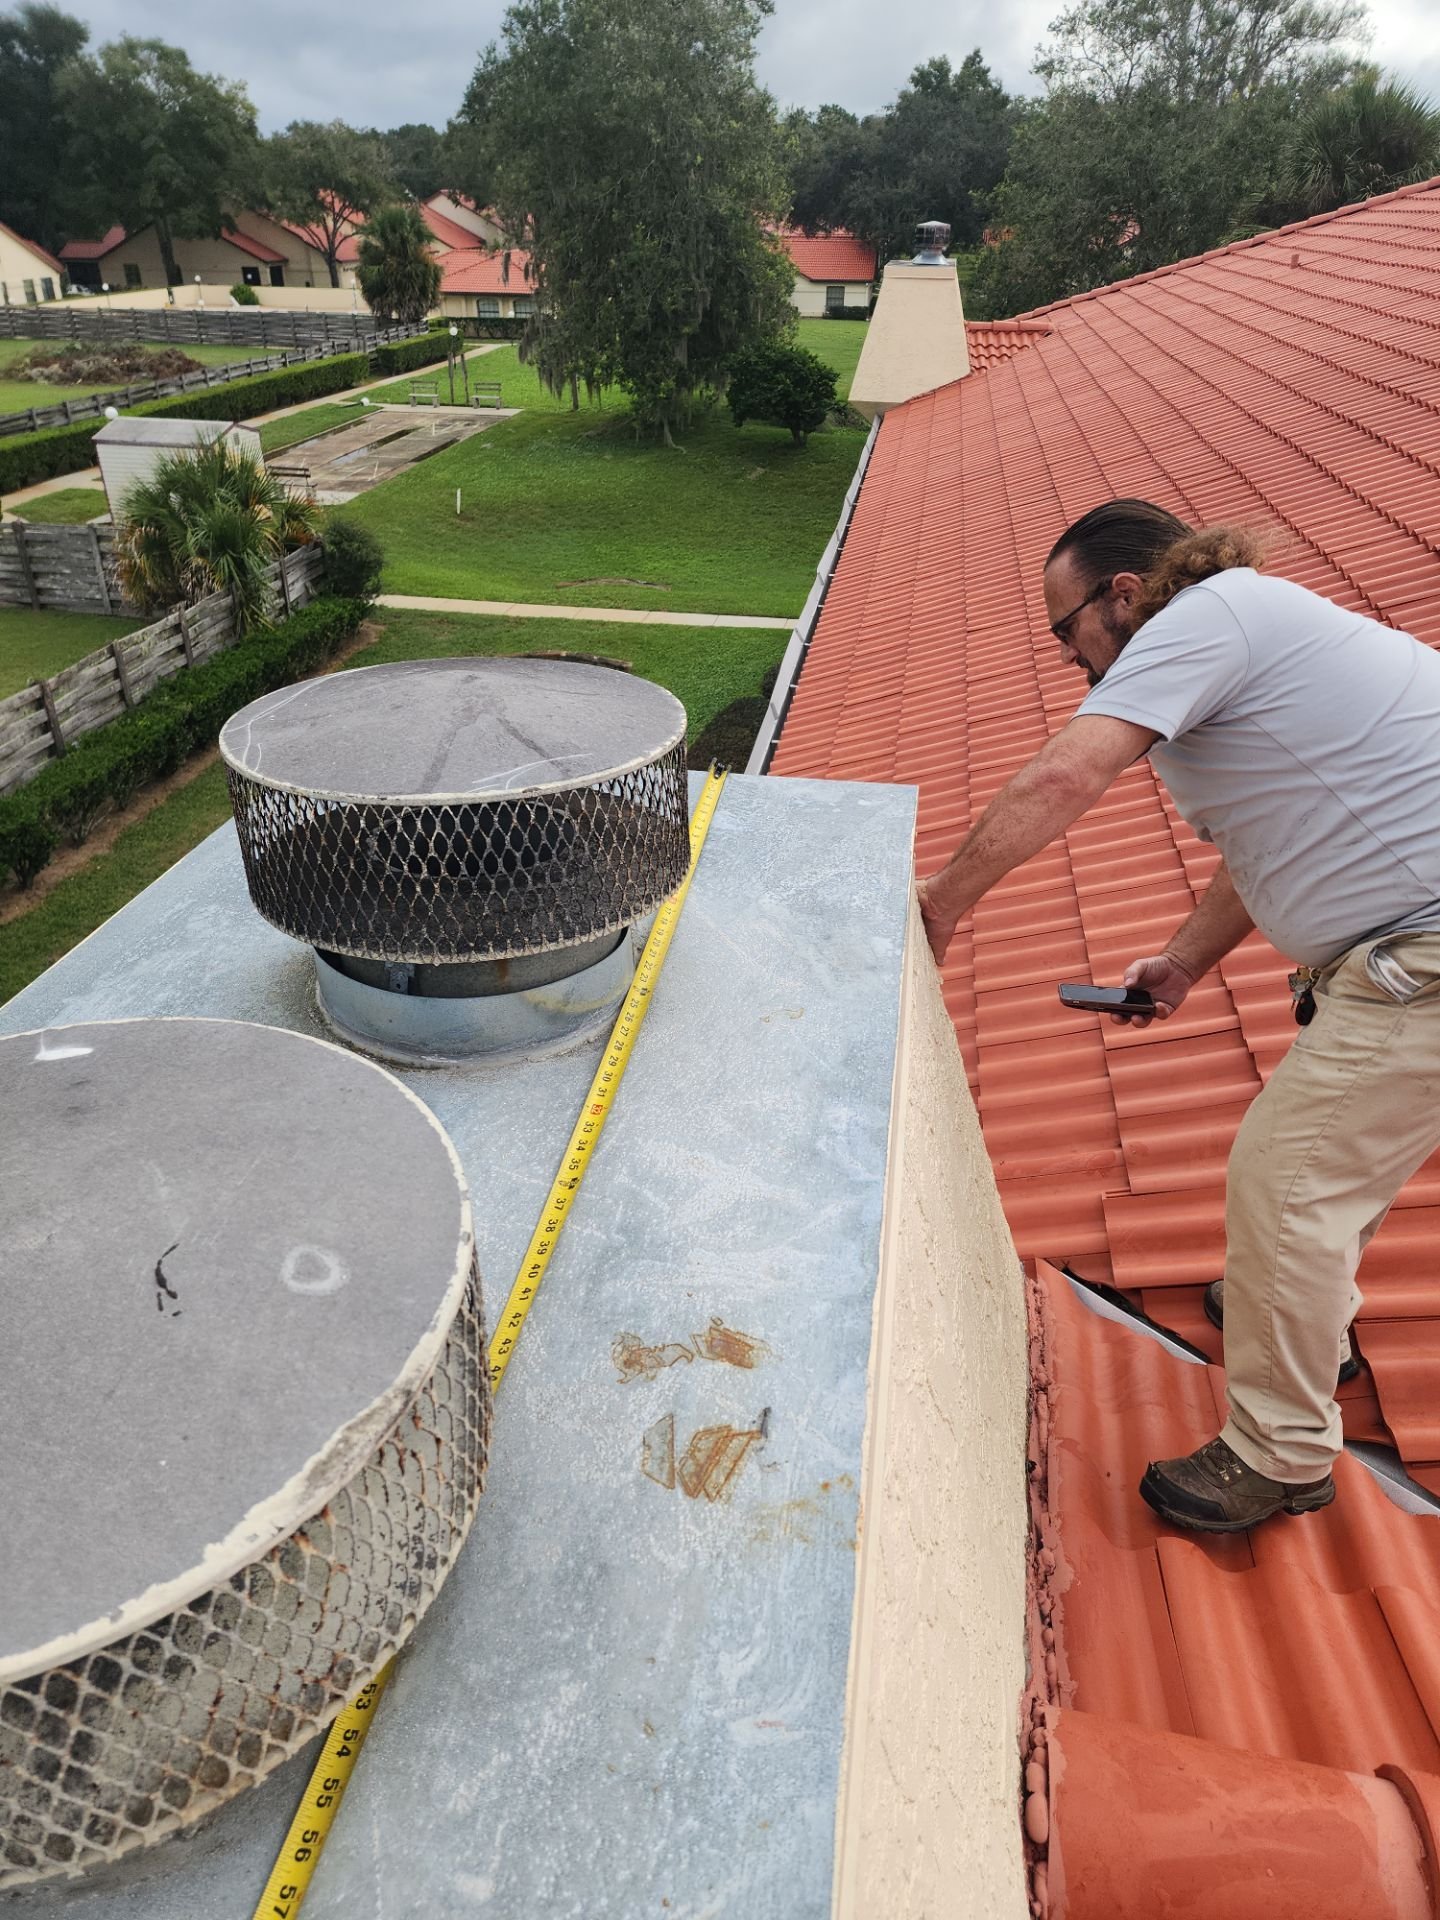
Most homeowners assume adding a chimney to a finished house means tearing the roof off for a month. That is not accurate. With the right framing plan, a masonry or prefab chimney can be tied into an existing roofline in a matter of weeks, not a season. Understanding how to build a chimney on an existing house starts with knowing it is a structural and code project first, and a cosmetic one second.
Typical timeline: 2-4 weeks from permit approval to finished flashing. Difficulty: advanced — this is not a weekend DIY project for most homeowners.
What you will need
- Approved building permit and local code sheet (Marion County or your municipality)
- Structural engineer’s load letter for the new roof penetration
- Listed factory-built chimney system or masonry block, depending on fuel type
- Stainless steel flue liner rated for your appliance (wood, gas, or pellet)
- Roof flashing kit, storm collar, and chimney cap
- Fire-rated framing lumber and firestop spacers
- Ladder stabilizer, roof harness, and fall-protection anchor
- Caulk, high-temp sealant, and corrosion-resistant fasteners
✅ Quick Tip: Pull your permit before you buy materials. Marion County inspectors can require changes to flue height or clearance that affect what you purchase.
Step 1: Research How to Build a Chimney on an Existing House (Permits & Codes)
Every jurisdiction in North Central Florida requires a permit for a new chimney penetration, and most follow the International Residential Code for clearance-to-combustibles rules. According to the International Code Council, chimneys must maintain specific clearances from framing members and roof sheathing to prevent heat transfer into wood. Skipping this step is the single most common reason inspections fail later. We have walked Ocala and Dunnellon homeowners through rejected permits that cost them weeks — confirming code first saves real money.
Step 2: Choose Masonry or Factory-Built Construction
A masonry chimney is built from block or brick with a clay or metal liner, and it can last decades with proper maintenance. A factory-built (prefabricated) chimney is a listed metal system engineered for a specific appliance and is lighter on an existing roof structure. Most retrofits on existing homes use factory-built systems because they don’t require a new footing. Your choice depends on the appliance, the roof’s load capacity, and whether you want the traditional masonry look.
Step 3: Confirm Structural Load With an Engineer
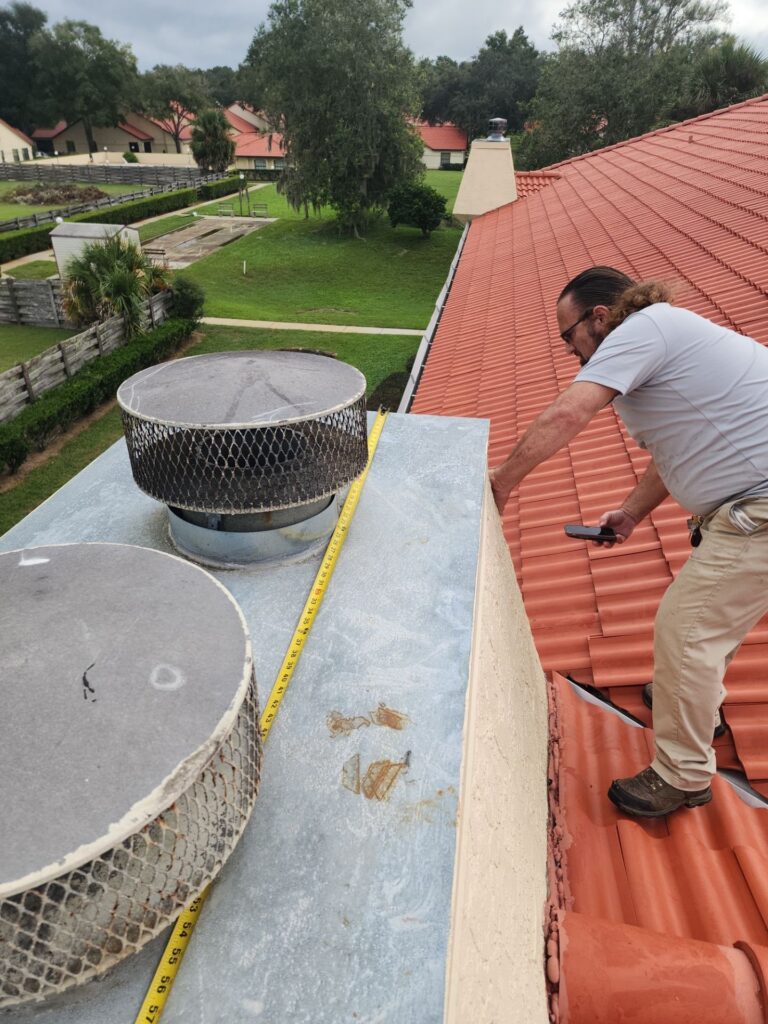
An existing roof was framed for its original load, not an added masonry stack that can weigh several thousand pounds. A structural engineer evaluates rafters, trusses, and the foundation path to determine if reinforcement is needed. This step gets skipped more than any other on DIY jobs, and it’s the one most likely to cause sagging or cracking years later. Our team has seen chimneys shift within two years because this evaluation was never done.
Step 4: Cut and Frame the Roof Opening
Once the engineer signs off, the roof opening is cut to the chimney manufacturer’s exact specifications, with fire-rated spacers separating the chase from framing lumber. This is detailed further in our guide on framing a chimney safely, which covers header sizing and the clearance gaps code requires. Rushing this step is how house fires start years later, because undersized clearances let wood framing slowly dry out from heat exposure.
Step 5: Install the Chimney Chase and Flue
The chase — the enclosed box that houses the flue — goes up next, followed by the liner itself. Liner sizing must match the appliance’s BTU output and fuel type exactly; an oversized or undersized flue causes poor draft and creosote buildup. If you’re also updating gas appliances during this project, it’s worth reviewing natural gas installation requirements at the same time, since gas chimneys have different venting rules than wood-burning ones.
Step 6: Flash and Waterproof the Roof Penetration
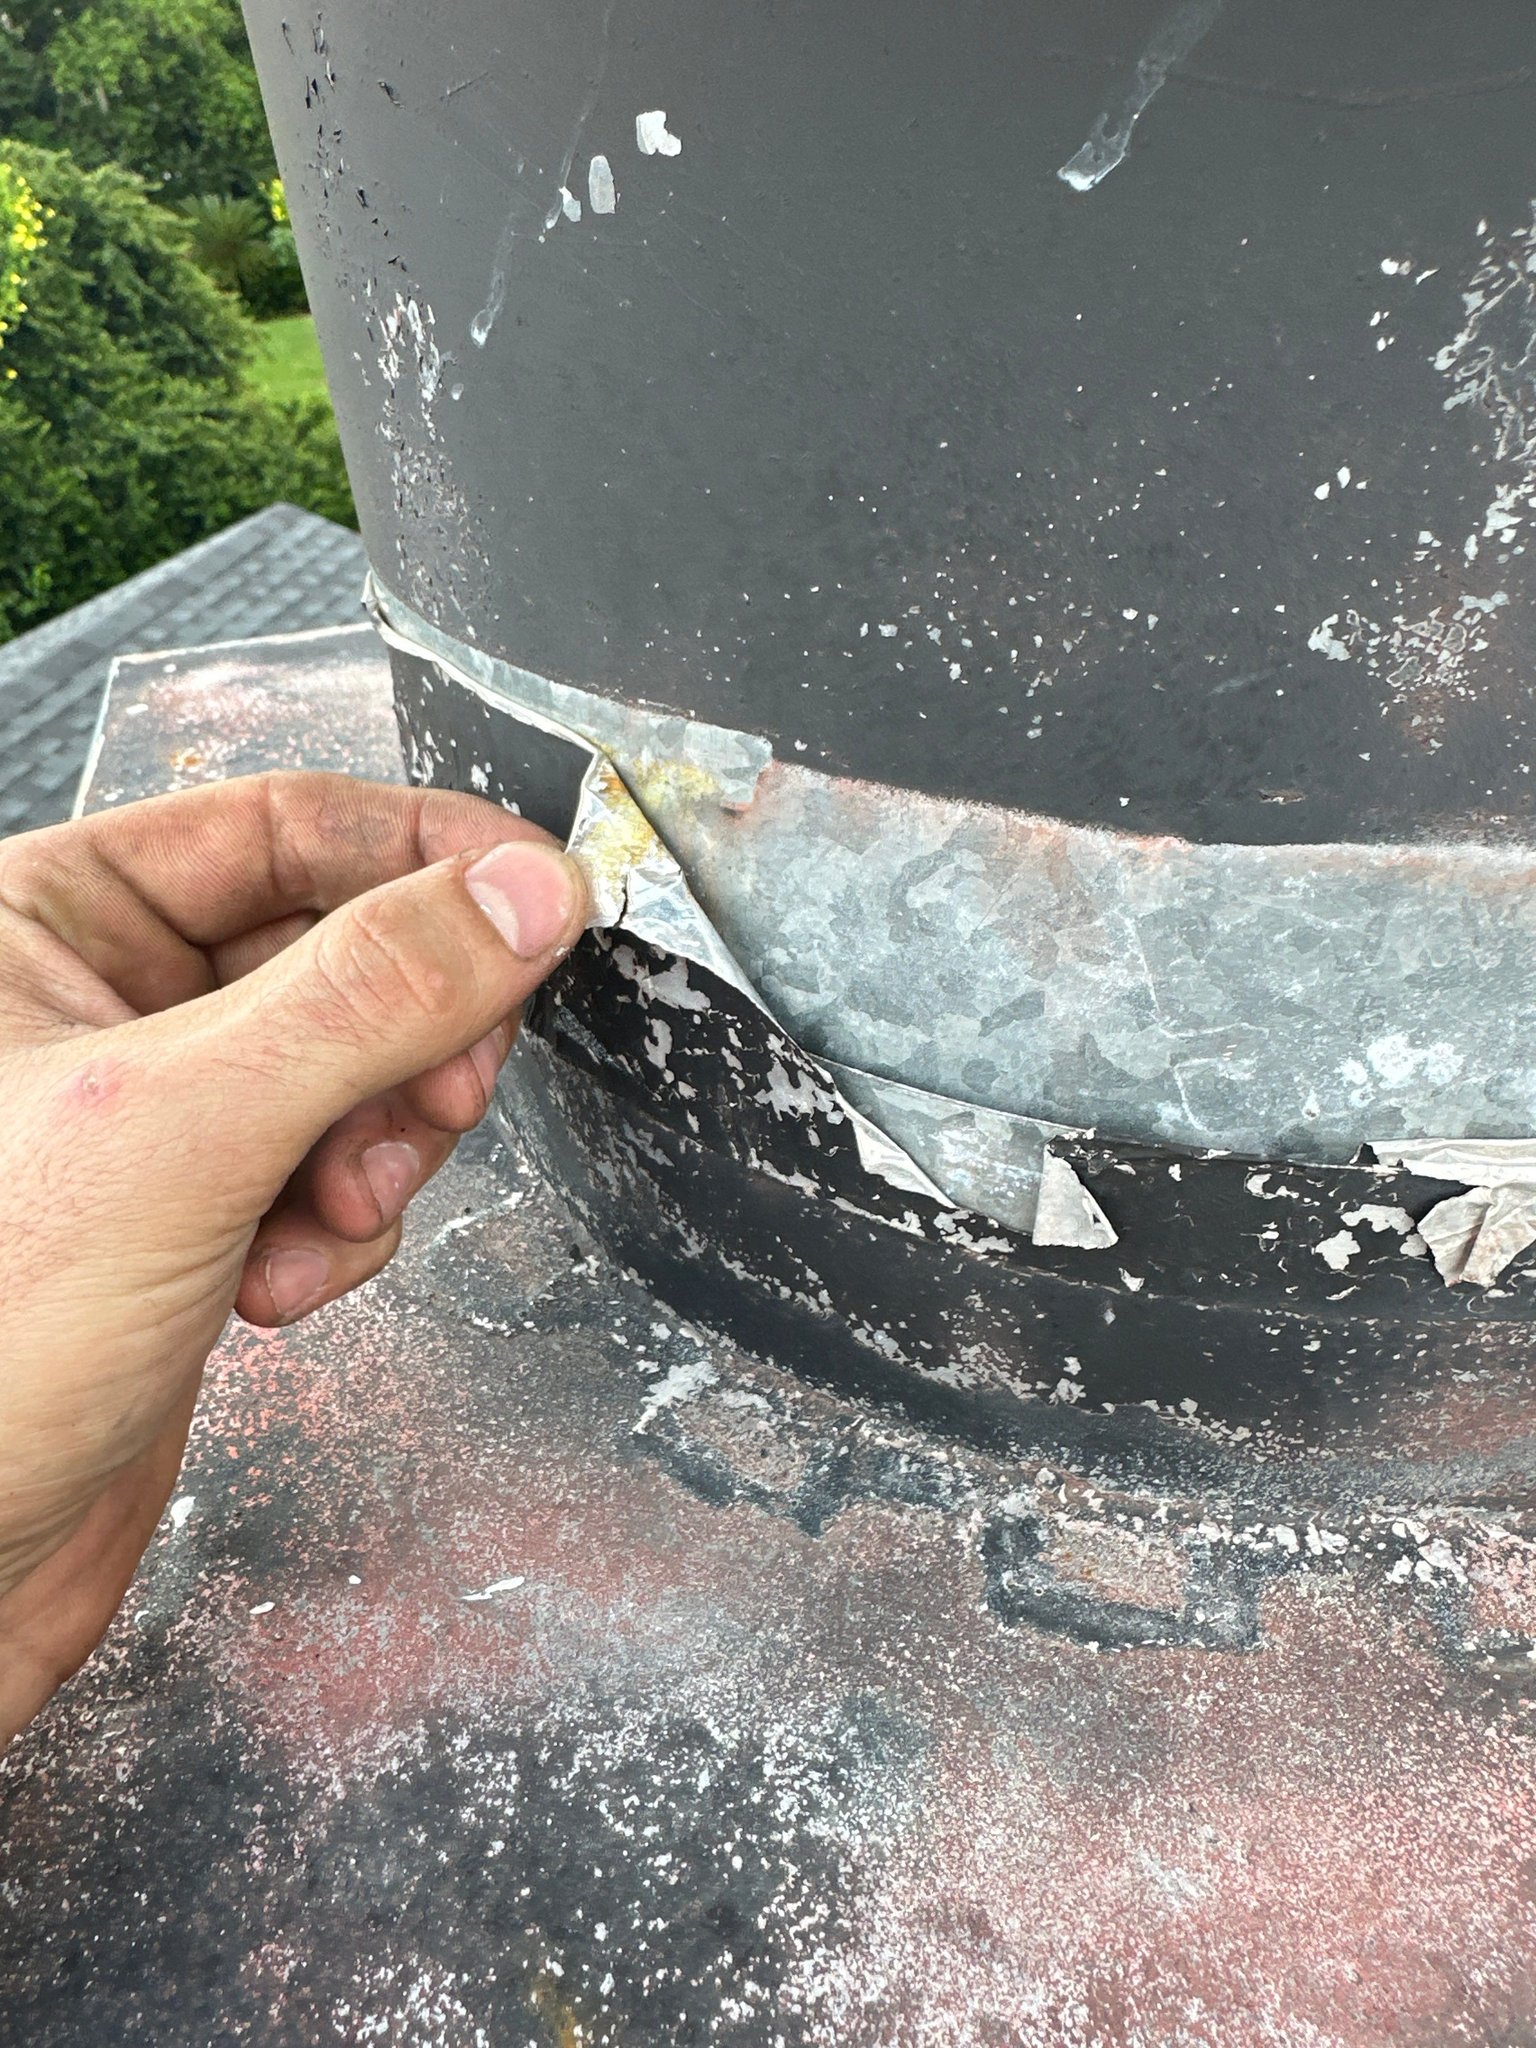
Flashing is where most leaks originate on new chimney installs. Step flashing interlocks with each shingle course, a storm collar seals the flue pipe, and high-temp sealant finishes the joints. According to FEMA’s home building guidance, improperly flashed roof penetrations are a leading cause of water intrusion in Florida homes, where heavy rain is routine. This is also why Florida’s afternoon storms punish any shortcuts taken here.
📊 Data Point: Florida receives over 50 inches of rain annually in many counties, according to NOAA, which is why flashing quality matters more here than in drier climates.
Step 7: Add the Chimney Cap and Final Inspection
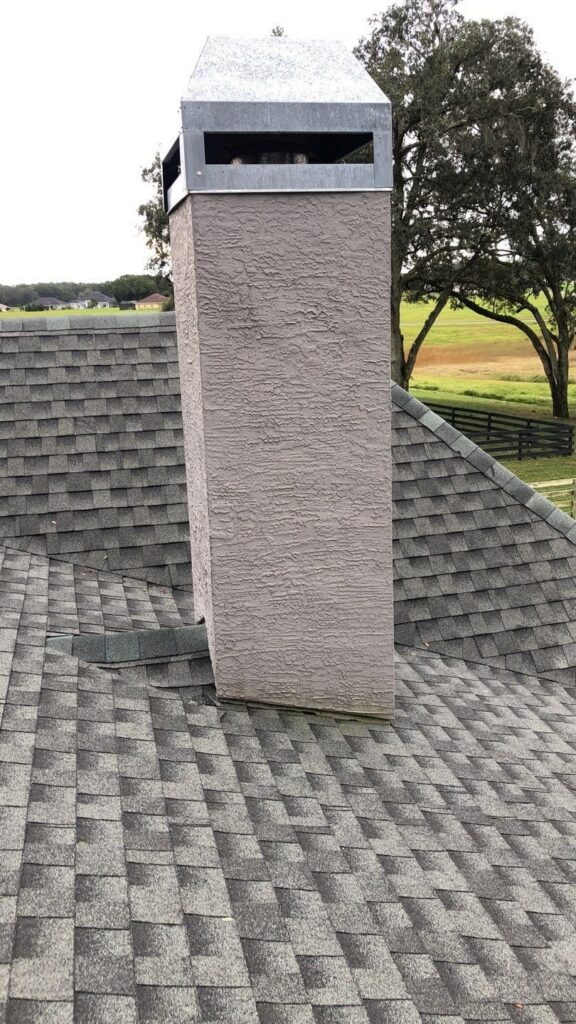
A properly sized cap keeps rain, embers, and wildlife out of the finished flue. Once the cap is set, the local building department performs a final inspection before the chimney can be used. This is also the point to schedule a professional check — our chimney inspections confirm draft, clearance, and flashing integrity before the first fire or gas appliance run.
Mistakes people make building a chimney on an existing house
The most common error is skipping the engineer’s load review to save time, which leads to cracking or settling within a year or two. A close second is undersized clearance-to-combustibles, often from reusing old framing lumber instead of fire-rated spacers. Homeowners also frequently mismatch the flue liner size to the appliance, which causes poor draft, smoke backup, or creosote buildup that raises fire risk. Finally, many skip a final professional inspection, assuming the county permit sign-off is enough — it confirms code compliance, not long-term performance.
When to call a pro
We’ll be straight with you: cutting into an existing roof, sizing a flue liner, and tying new masonry into old framing is not a project most homeowners should tackle alone, even handy ones. The honest limit here is structural risk — a mis-sized opening or missed clearance can mean a fire hazard hidden inside your walls for years before it shows itself. Always Fire & Gas has been family-owned since 1982, holds two Florida state licenses (Contractor License #CRC1333200, Category V Gas License #LI45277), and our technicians carry CSIA and NFI certifications across six national credentials. If any step above feels outside your comfort zone, that’s the point where a licensed crew belongs on your roof, not a ladder from the garage.
If you’re also weighing a full chimney rebuild rather than new construction, our masonry rebuilds and repair page covers when repair makes more sense than starting over.
Your next steps
- Confirm your local permit requirements before buying any materials.
- Get a structural engineer’s load assessment for the roof.
- Decide between masonry or factory-built construction based on that assessment.
- Schedule a professional inspection before the first use of your new chimney.
Learning how to build a chimney on an existing house is really about sequencing: code first, structure second, flashing third, and inspection last. Skip the order and you risk a leak, a failed inspection, or worse. When others say a project like this can’t be done safely on a finished roof, we show up and do it right — call or text Always Fire & Gas at (352) 282-0158 for a documented, licensed plan for your home.