CSIA Certified Dryer Exhaust Technician #1149. Blocked Flap, Rusted Housing, Pest Entry, Screen Cap. North Central Florida Since 1982.
Dryer Vent Wall Termination Replacement in Ocala, Gainesville, Orlando, The Villages and All Surrounding Areas.
Step 1: Call or Text (352) 282-0158 – Describe what you found or were told – stuck flap, broken housing, pest evidence, screen cap, or cleaning finding. We confirm the scope and schedule the service.
Step 2: We Replace the Cap – Existing cap removed. Duct cleared at the penetration. Code-compliant louvered or spring-loaded flapper cap installed. Housing sealed to exterior wall. Airflow confirmed from inside. About 45 to 60 minutes on-site.
Step 3: You Get a Documented Correct Termination – Before/after photo report under CSIA DET #1149. Correct cap. Sealed housing. Airflow confirmed. Written record of what was found and what was replaced.
- CSIA Certified Dryer Exhaust Technician #1149
- CSIA Certified #10020
- Certified Category V Gas License #LI45277
- FL Residential Contractor #CRC133200
- BBB A+ Since 2018 - Family Owned Since 1982
Vent Cap Replacement
Flap That Will Not Open. Cap Housing Rusted or Broken. Bird or Wasp Nest Inside the Cover. Screen That Is Trapping Lint and Needs to Come Off. You Need the Correct Cap, Installed Right, and Documented.
You probably already know what is wrong with yours. The flap was stuck when you went outside and ran the dryer. The housing is cracked or the plastic has gone brittle. Something is nesting in it – you can see material around the opening or you have found evidence inside the duct. Or a technician cleaned the vent, confirmed the duct is clear, and told you the cap is what needs to come next.
A wall termination cap that is blocked, broken, or improperly installed does not become less of a problem by leaving it. Every dryer cycle either pushes against a restricted cap or exhausts through an open, unsealed housing that lets pests back in between cycles. Always Fire & Gas replaces dryer vent wall terminations under CSIA Dryer Exhaust Technician certification #1149 — correct cap selection for the wall material and pest pressure, sealed housing, airflow confirmed, before/after photo report at service close.
Five Ways a Dryer Vent Wall Cap Fails
Wall cap failures are usually visible from outside the home. These five failure types cover every common wall termination problem Always Fire & Gas finds in North Central Florida residential dryer vent service.
1
Flap Stuck Open or Will Not Open
The most common wall cap failure – the flap that should open during the cycle and close at rest is not working
The flap on a dryer vent wall cap is a one-way valve: it opens under dryer exhaust pressure during the cycle and closes by gravity or spring tension when the dryer stops. When the flap is stuck open, the vent is unprotected between cycles – pests enter, outside air flows back into the duct, and the vent hood provides no protection against backdraft. When the flap will not open during the cycle, exhaust pressure builds in the duct, lint accumulates back from the termination end, and the dryer works harder. Flaps fail in three ways: lint accumulation cakes the flap in place; paint from exterior painting covers and seals the flap; or the hinge mechanism corrodes or breaks. In all three cases, cap replacement is the correct solution.
- Stuck-open flap: vent is unprotected between cycles – pest entry, backdraft, outside air intrusion
- Flap will not open: exhaust pressure restricted, lint accumulates at the termination, dryer performance degrades
- Lint accumulation: flap edge caked with lint from repeated cycles restricts and eventually freezes the flap
- Paint seal: exterior painting without masking the cap seals the flap permanently
- Corroded or broken hinge: flap mechanism fails – replacement is the only correctio
2
Rusted, Cracked, or Deteriorated Housing
The cap body is failing – common in older metal caps and UV-degraded plastic caps in Florida conditions
Metal wall caps corrode over time, particularly in Florida’s high-humidity environment. Rust at the housing body, at the mounting flange, or at the flap hinge points is a cosmetic problem initially but a structural problem as it progresses – a corroded housing allows gaps to open between the cap and the wall surface, creating pest entry points and water intrusion paths that are not related to the flap seal. Plastic wall caps are common in older installations and in builder-grade fittings. In North Central Florida, UV degradation shortens plastic cap lifespan: plastic becomes brittle, cracks at stress points, and loses the dimensional stability needed to maintain a good seal to the wall. A cracked plastic housing cannot be patched; it must be replaced.
- Metal cap corrosion: rust at housing body or mounting flange creates gaps to wall surface
- Plastic cap UV degradation: brittleness, cracking, loss of seal – common in Florida conditions after 5-8 years
- Both failure modes create pest entry points and water intrusion paths independent of the flap condition
- Replacement: remove deteriorated cap, clean mounting surface, install metal louvered or spring-loaded flapper cap
3
Screen Cap – Prohibited for Dryer Exhaust
The most misunderstood wall cap failure: the screen that was installed to keep pests out is clogging the vent
Screened wall caps are sold in the dryer accessories section at home improvement stores and are used in installations where the installer wanted to prevent pests from entering the vent. They are prohibited for dryer exhaust by Florida Building Code and NFPA 91. Dryer exhaust carries lint particles that clog the screen mesh within months of installation, creating a progressive blockage that restricts and eventually prevents exhaust. The screen that was installed to keep pests out becomes the primary reason the dryer is not exhausting. In North Central Florida, where lint accumulation rates are elevated by year-round dryer use and the absence of seasonal slowdowns, screen caps on dryer vents clog faster than in cooler climates. The correct solution is screen cap removal and replacement with a code-compliant louvered or spring-loaded flapper cap that keeps pests out through the flap seal, not a screen.
- Screen caps: prohibited for dryer exhaust by Florida Building Code and NFPA 91
- Lint clogs screen mesh within months: progressive blockage from the first cycle forward
- Florida conditions: year-round dryer use accelerates lint accumulation at screen
- Pest control through flap seal: a correctly installed louvered or flapper cap keeps pests out without a screen
- Replacement: remove screen cap, clear lint accumulation at opening, install code-compliant dryer-exhaust-rated cap
4
Pest Nesting Inside the Cap Housing
Wasps, mud daubers, and birds build inside open-housing cap designs year-round in North Central Florida
Open-housing wall cap designs – caps where the interior of the housing is accessible from outside when the flap is open or when the flap gap is sufficient for entry – are nesting sites for paper wasps, mud daubers, house sparrows, and starlings in North Central Florida. Unlike roof cap nesting, which is seasonal in moderate climates, North Central Florida sees active nest construction in wall caps throughout the year. A mud dauber nest built inside the cap housing can completely block the vent in a single season. Paper wasp nests inside the housing create a combustion hazard: the cellulose nest material is in the exhaust stream during dryer cycles. Nest removal without cap replacement leaves the same access point open to re-nesting within weeks in peak season. The correct cap is a closed-body design with a flap that seals the housing interior when the dryer is not running.
- Mud daubers: build clay tube nests directly inside cap housing – can completely block vent in one season
- Paper wasps: cellulose nest material inside housing is in the exhaust stream – combustion hazard
- House sparrows and starlings: active in wall caps year-round in North Central Florida climate
- Open-housing cap designs: accessible interior when flap is open or gap is sufficient for entry
- Nest removal without cap replacement: re-nesting occurs within weeks in peak North Central Florida pest season
5
Backdraft, Odor Intrusion, or Wind-Driven Cap
The cap opens in wind or fails to seal at rest – outside air, rain, or odors enter the duct
Wall caps on exposed exterior faces are subject to wind loading that can lift a lightweight flap and hold it partially open even when the dryer is not running. A wind-lifted flap allows outside air, rain, and outdoor odors to enter the duct and migrate toward the dryer. In homes near agricultural land, water features, or areas with strong prevailing winds, a poorly sealing or wind-susceptible cap creates a persistent odor or moisture issue in the laundry area that appears unrelated to the dryer vent. The solution is a spring-loaded flapper cap with sufficient closing force to resist the wind loading at the specific installation face, or a multi-louver design that distributes wind pressure across multiple smaller flap surfaces rather than a single large flap.
- Wind-lifted lightweight flap: holds partially open on exposed wall faces – outside air and rain enter duct
- Odor intrusion: agricultural odors, water feature odors, general outdoor air migrating toward dryer
- Moisture from wind-driven rain: enters duct when flap does not seal against prevailing wind
- Correct cap for exposed faces: spring-loaded flapper with sufficient closing force, or multi-louver design
- Cap selection matched to specific installation exposure at AAS assessment
SUMMARY: Five Dryer Vent Wall Cap Failures (Featured Snippet target)
Dryer vent wall caps fail in five ways: a stuck or non-opening flap from lint accumulation, paint seal, or hinge failure; a rusted or UV-degraded housing that no longer seals to the wall; a screened cap (prohibited by Florida Building Code and NFPA 91 for dryer exhaust) that clogs progressively with lint; pest nesting inside the cap housing by wasps, mud daubers, or birds active year-round in North Central Florida; and a wind-lifted or poorly sealing flap on an exposed wall face that allows backdraft, rain, and odors into the duct. Always Fire & Gas replaces dryer vent wall terminations under CSIA Dryer Exhaust Technician certification #1149 across Ocala, Gainesville, The Villages, Orlando, and all of North Central Florida.
Four Steps. Every Wall Termination Replacement.
Every wall termination replacement by Always Fire & Gas follows the same documented four-step process. The right cap for the specific wall material, exposure, and pest pressure at the installation – not a generic replacement.

Assessment: Cap Condition, Duct Condition, Clearances
The replacement begins with confirming what is being replaced and what the correct replacement is
The assessment covers the existing cap condition, the duct condition at the wall penetration, the wall material at the mounting surface, and the clearance distances from the termination to adjacent windows, doors, HVAC intakes, and other wall features. The cap type is selected based on the specific installation: the wall material, the direction of prevailing wind at the installation face, the pest pressure in the immediate area, and whether the existing housing size and penetration diameter are compatible with the replacement cap. Airflow is confirmed at the existing cap location before removal – a cap replacement on a duct that has an internal blockage is an incomplete service.
- Existing cap: flap condition, housing condition, mounting seal condition
- Duct at penetration: lint accumulation, pest debris, moisture at wall sleeve
- Wall material: stucco, Hardie board, vinyl, brick, wood – cap mounting method matched to substrate
- Clearance distances: confirmed against Florida Building Code and NFPA 91 at assessment
- Airflow at existing location: confirmed before removal – duct blockage identified before cap is changed

Existing Cap Removal and Duct Clearance
The old cap comes off completely – duct interior at the penetration cleared before the new cap goes on
The existing cap is removed from the wall mounting. The duct interior at the wall penetration is cleared of any lint accumulation, pest nesting material, or debris that has collected at the cap opening. Lint that accumulates at the old cap location creates an immediate blockage at the new cap if it is not cleared before installation. For pest-nested caps, the nesting material is removed and the duct interior is inspected for the depth of nesting debris inside the run. The mounting surface on the exterior wall is cleaned of old sealant, rust scale, or paint build-up that would prevent the new cap from seating flat.
- Full cap removal: housing, flap assembly, and mounting hardware removed – not covered over
- Duct interior cleared: lint accumulation, pest nesting, debris removed at the penetration
- Nesting caps: duct interior inspected for nesting debris inside the run – depth confirmed
- Mounting surface: old sealant and scale removed, surface prepared for new cap seating

Code-Compliant Cap Installation and Housing Seal
The correct cap for the wall type and installation exposure, sealed housing, airflow confirmed
Always Fire & Gas installs a code-compliant louvered or spring-loaded flapper cap rated specifically for dryer exhaust. The cap is selected for the specific installation: a closed-body design for pest-pressure locations, a spring-loaded or weighted flapper cap for wind-exposed faces, a metal cap rather than plastic in high-UV exposure locations. The cap housing is sealed to the exterior wall surface with an exterior-grade sealant compatible with the wall material. For stucco and Hardie board surfaces, the sealant must flex with the wall material’s thermal expansion. Airflow is confirmed through the new cap from inside the home after installation.
- Cap selection: dryer-exhaust-rated, closed-body or spring-loaded flapper matched to installation conditions
- No screen caps: prohibited for dryer exhaust by Florida Building Code and NFPA 91
- Housing seal: exterior-grade sealant compatible with wall material – stucco, Hardie, vinyl, brick
- Flexible sealant for stucco and Hardie: accommodates thermal expansion without cracking
- Airflow confirmation: confirmed through new cap from inside the home at service close

Before/After Photo Report Under CSIA DET #1149
Documentation of the old cap condition, the replacement, and the confirmed airflow
The before photos document the existing cap condition: stuck or missing flap, rusted or cracked housing, screen mesh, pest nesting material, or any other defect that prompted the replacement. The after photos document the new cap installed, the sealed housing, and the clear duct opening. The report records the cap type installed, the wall material and sealant used, and the airflow confirmation result. It is produced under CSIA Dryer Exhaust Technician certification #1149. For home sale situations, the report is suitable for the buyer’s agent, the listing agent, the buyer’s lender, or the inspector who flagged the original cap condition.
- Before: existing cap condition documented – specific failure mode (stuck flap, rust, screen, nest)
- After: new cap, sealed housing, airflow confirmation documented
- Cap type and sealant recorded: technical record of the replacement materials
- Produced under CSIA DET #1149 – suitable for insurance, real estate, and property management records
Cap Replacement at an Existing Penetration: No Contractor License Required.
New Wall Penetration: FL #CRC133200 Required.
Replacing a dryer vent wall cap at an existing wall penetration – removing the old cap and installing a new one at the same location – does not require a Florida Residential Contractor license. This is the scope on most wall termination replacement calls: the penetration exists, the duct run is in place, and the only work is removing the failed cap and installing a correct replacement.
Where the contractor license becomes relevant is when the existing termination location is wrong and the correct fix is a new penetration at a different location: the current cap is too close to a window or door, the clearance to the HVAC air intake is insufficient, or the wall face is wrong and the vent needs to exit on a different side of the structure. In those cases, a new penetration is required, and new wall penetrations require FL Residential Contractor #CRC133200 in Florida.
Always Fire & Gas holds FL Residential Contractor #CRC133200. If the assessment confirms the existing termination location is non-compliant and the correct repair is a relocated penetration, AFG can perform that scope under the license. If the existing location is correct and only the cap needs replacement, the license is not needed and the scope is straightforward.
Five Entry Points. One Certified Replacement Process.
1
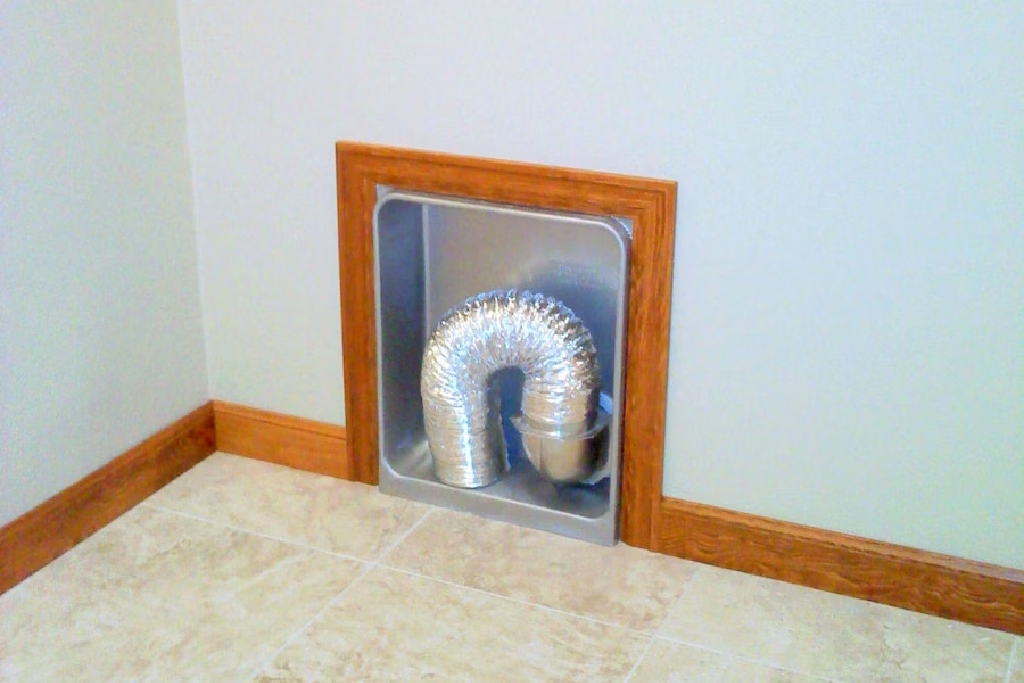
You Saw the Problem From Outside
You went outside during a dryer cycle and the flap was not moving. Or you noticed the housing is cracked. Or you looked at the cap last week and saw a wasp nest inside the opening. Or the plastic has gone yellow and brittle. Wall caps are visible from outside the home, which means homeowners in North Central Florida often spot the problem themselves before a technician identifies it. Your observation is correct. That cap needs to be replaced. Always Fire & Gas will confirm the failure mode, clear the duct at the penetration, install the correct replacement cap, and document the service.
Call or text (352) 282-0158. Describe what you saw – flap condition, housing condition, pest evidence, or any other visible problem. AFG will confirm the replacement scope and schedule
2
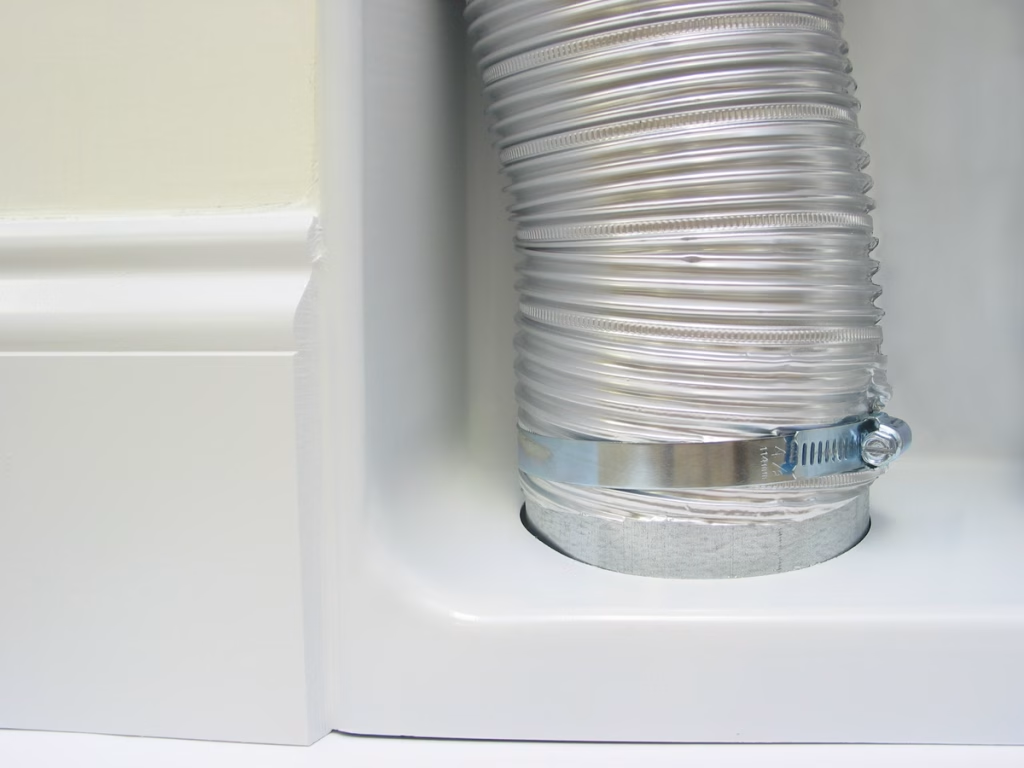
Cleaning Found It - The Duct Is Clear but the Cap Is Not
The vent was cleaned. The duct is confirmed clear. But the technician found the wall cap flap is not opening correctly, the housing is damaged, or there is a screen cap that needs to come off. The cleaning resolves the lint inside the duct. The cap replacement resolves the restriction at the exit. Without the cap replacement, the vent will re-block at the cap on the next several cycles as lint that can now move through the clean duct hits the restricted cap exit. Always Fire & Gas can perform the cap replacement as a standalone service or combined with the cleaning in a single visit.
Call or text (352) 282-0158. Describe the cleaning finding – flap condition, cap type, or any visible defect noted. AFG will confirm the replacement scope and whether a combined cleaning/cap service makes sense for your situation.
3
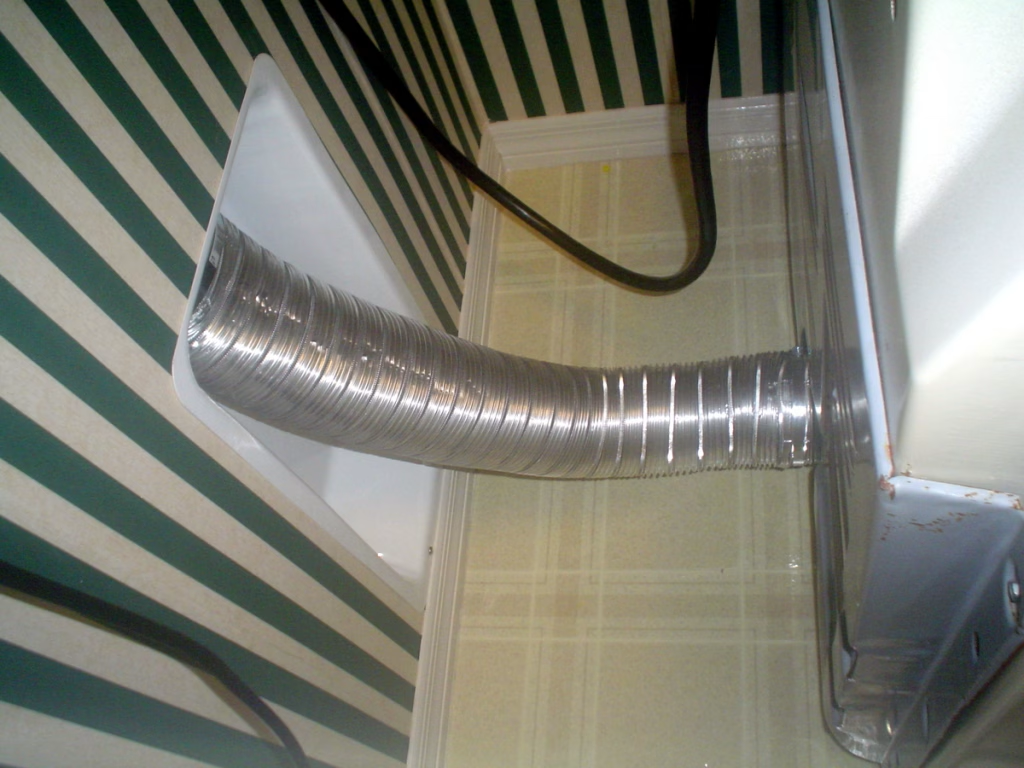
Repeated Cleaning Failures - The Vent Re-Blocks Faster Than It Should
The dryer vent has been cleaned. Performance improved for a few months and then returned to the two-cycle pattern. You scheduled another cleaning. The same thing happened. Nobody has checked the wall cap condition from outside. A cap with a restricted or non-opening flap creates exactly this pattern: the cleaning clears the duct, the lint that can now move through the clean duct accumulates at the restricted cap on the next cycles, and the vent is back to poor performance before the next scheduled cleaning. The cap is the variable that has not been addressed. Always Fire & Gas will confirm whether the wall cap is the cause, replace it if it is, and document the service.
Call or text (352) 282-0158. Describe the cleaning history – how many cleanings, how long performance improvement lasted each time. AFG will assess the full vent system including the wall cap and confirm the diagnosis.
4
Home Inspector Flagged the Wall Cap
The inspection report included a dryer vent wall cap finding: broken housing, screen cap, pest evidence, or general condition. The finding needs a response before closing. Always Fire & Gasreplaces the wall cap and produces a written before/after photo report under CSIA Dryer Exhaust Technician #1149 within the typical closing timeline. The report documents the defect found, the replacement performed, the cap type installed, and the airflow confirmation. It is suitable for the buyer’s agent, the listing agent, the lender, or the title company.
Call or text (352) 282-0158. Provide the property address, the inspection finding as stated in the report, and the closing date or timeline. AFG will confirm the replacement scope and the documentation format.
5
Rental Property - Wall Cap Condition Is a Recurring Maintenance Item
You manage a rental property or multiple rental properties in North Central Florida. The dryer vent wall cap condition deteriorates between tenant turnovers. Plastic caps crack, flappers accumulate lint, pest nesting reoccurs in open-housing designs. Always Fire & Gas replaces wall caps for rental properties on the same documented service as owner-occupied homes: assessment, replacement with a durable metal cap appropriate for the installation, sealed housing, airflow confirmation, and before/after photo report under CSIA DET #1149. Property management documentation is standard. Cap replacement at tenant turnover removes one recurring maintenance call from the next tenancy.
Call or text (352) 282-0158. Provide the property address and a description of the cap condition or the previous service history. AFG will confirm the replacement scope and documentation format.
Two Cap Replacements. Two Homeowners.
Who Found the Actual Problem.

The Villages: Screen Cap Removed After Two Cleaning Failures
A homeowner in The Villages had the dryer vent cleaned twice in fourteen months. Both times, the dryer performed well for two to three months and then returned to the long-cycle pattern. On the third call, the technician confirmed the duct run was clear from the dryer end but went outside and found a screened wall cap packed with lint at the mesh. The screen had been accumulating lint since installation – the first cleaning cleared the duct but the screen filled immediately from the newly mobile lint. The second cleaning cleared the duct again with the same result. The screen cap was the cause on every cycle from day one. AFG removed the screen cap, cleared the lint pack at the wall opening, and installed a louvered dryer-exhaust-rated cap with a weighted flapper. The before photos documented the screen packed with lint. The after photos documented the new louvered cap. The homeowner has not had a cleaning-failure cycle since.
Repeated cleaning failures? The wall cap may be the reason. Call (352) 282-0158.

Ocala: Mud Dauber Nest Removed, Closed-Body Cap Installed
A homeowner in Ocala noticed the dryer had been running longer than usual and mentioned it during a scheduled chimney inspection. AFG checked the dryer vent as part of the same visit and found a mud dauber nest built inside the wall cap housing – a standard louvered cap design with an open housing interior that the daubers had used as a nesting cavity across two seasons. The nest had partially blocked the cap opening. The existing cap flap was intact but the nest debris inside the housing restricted airflow at the exit. AFG removed the nest, inspected the duct interior at the penetration for nesting material inside the run (found minimal debris, cleared), and replaced the open-housing louvered cap with a closed-body spring-loaded flapper cap that seals the housing interior when the dryer is not running. Before photos documented the nest inside the housing. After photos documented the closed-body cap. The homeowner’s next dryer cycle ran on schedule.
Mud daubers or wasps near your dryer vent? Call (352) 282-0158

Orange & Lake Counties: Dryer Vent Resolved with Sealed Cap
A homeowner in Ocala noticed their dryer had been running longer than usual and mentioned it during a scheduled chimney inspection. As part of the same visit, AFG checked the dryer vent system and identified a mud dauber nest built inside the wall cap housing. The existing cap was a standard louvered design with an open interior, which had allowed the daubers to use the space as a nesting cavity over two seasons. The accumulated nest debris partially blocked the cap opening, restricting airflow even though the exterior flap remained intact. AFG removed the nest, inspected the duct interior at the wall penetration for additional material (finding only minimal debris, which was cleared), and replaced the open-housing louvered cap with a closed-body, spring-loaded flapper cap designed to seal the housing interior when the dryer is not in use. Before photos documented the nesting inside the housing, and after photos confirmed the upgraded sealed cap installation. The homeowner reported that the next dryer cycle returned to normal operation.
Call (352) 282-0158
Dryer Vent Wall Termination Replacement Across North Central Florida
Always Fire & Gas replaces dryer vent wall terminations for residential and rental properties across Marion, Alachua, Lake, Sumter, Citrus, Putnam, Hernando, Orange, and Volusia Counties and all surrounding areas. CSIA Dryer Exhaust Technician #1149. Before/after photo report on every service. Service available as a standalone replacement or combined with dryer vent cleaning in a single visit.
Call or text (352) 282-0158 to schedule. Describe what you found or were told. AFG confirms the scope and schedules the service.
Dryer Vent Wall Cap Questions, Answered Directly
A dryer vent wall termination should have a louvered or spring-loaded flapper cap that is rated specifically for dryer exhaust. The cap must open under dryer exhaust pressure during the cycle and close completely by gravity or spring tension when the dryer stops. Florida Building Code and NFPA 91 prohibit screen caps for dryer exhaust – the screen mesh clogs with lint within months and creates a progressive blockage. General-purpose vent caps, HVAC exhaust caps, and caps designed for bath fans are not appropriate for dryer exhaust. Always Fire & Gas selects dryer-exhaust-rated caps matched to the specific wall material and installation exposure – including closed-body designs for locations with high pest pressure in North Central Florida.
A dryer vent wall cap flap fails to open for three reasons: lint accumulation cakes the flap edge and seals it against the housing opening; paint from exterior painting covers the flap and seals it in place; or the hinge mechanism corrodes or breaks and the flap is physically unable to move. In all three cases, the cap should be replaced rather than repaired. Clearing lint from the flap edge is a temporary measure – the same accumulation will recur at the same location because the flap geometry is what causes lint to collect there. A painted-shut flap cannot be opened without damaging the seal between the flap and the housing. A corroded hinge cannot be reliably repaired in place. Cap replacement is the correct and permanent solution.
Yes, with the right cap. Removing the existing wall cap and installing a new one at the same wall penetration is a task a homeowner can perform. The steps are: remove the existing cap (usually held by screws or sealant), clear any lint or debris from the duct opening, install the new cap with the correct dryer-exhaust-rated flapper or louvered design, and seal the housing to the exterior wall with an exterior-grade sealant compatible with the wall material. The critical requirements are cap selection (dryer-exhaust-rated, no screen) and housing seal (exterior-grade sealant, complete coverage). If the cap location is non-compliant with clearance requirements – too close to a window, door, or HVAC intake – a new penetration at a correct location is needed, and that scope requires a licensed residential contractor. Always Fire & Gas can assess whether the existing location is correct before you start.
The correct solution is a closed-body wall cap design with a flap that seals the housing interior when the dryer is not running. Open-housing louvered cap designs – the most common type sold at home improvement stores – leave the housing interior accessible when the flap is open or when the gap between the flap edge and the housing is sufficient for insect entry. Mud daubers and paper wasps will nest in these housings year-round in North Central Florida. Closed-body spring-loaded flapper caps eliminate access to the housing interior between cycles. Wire mesh or screen covers should not be used as pest barriers over dryer vent caps – they are prohibited for dryer exhaust and will clog with lint. Always Fire & Gas installs closed-body caps rated for dryer exhaust in pest-pressure locations, selected for the specific species pressure at the installation.
Metal wall caps typically last fifteen to twenty years in North Central Florida conditions when installed correctly and not subjected to physical damage. Plastic wall caps – common in builder-grade and older installations – typically last five to eight years in Florida before UV degradation makes them brittle and prone to cracking. Florida’s UV index is among the highest in the continental United States, and plastic cap housings become brittle faster than in moderate climates. A plastic cap that is cracked or has lost dimensional stability should be replaced with a metal dryer-exhaust-rated cap. Metal caps that are simply rusted at the surface can sometimes be painted with an exterior rust-inhibiting paint to extend life, but caps with rust through the housing body or at the flap hinge should be replaced.
No, replacing a dryer vent wall cap at an existing penetration does not require a permit in Florida. You are removing an existing cap and installing a new one at the same location – no new penetration, no structural modification. A permit is required when the scope involves creating a new wall penetration: relocating the termination to a different wall location, correcting a non-compliant termination location, or adding a first-time vent. New wall penetrations also require FL Residential Contractor #CRC133200. Always Fire & Gas holds that license and can perform new penetration work where the existing location is non-compliant. For a straightforward cap-at-existing-penetration replacement, no permit is required and the service can be scheduled and completed in a single visit.
Yes. Always Fire & Gas combines dryer vent cleaning and wall cap replacement in a single service visit when both are needed. The correct sequence is to clean the duct first- confirming the run is clear and airflow is unobstructed from the dryer end – and then replace the cap so the clean duct exhausts through a new, unobstructed cap from the first cycle after service. Performing both in the same visit also produces a single before/after photo report documenting the complete vent system condition. The combined service is the most efficient outcome for the most common wall cap situation: cleaning found a cap problem, and the cap needs to come off and be replaced before the cleaned vent can perform correctly. Call or text (352) 282-0158 and describe both the cleaning need and the cap condition when scheduling.